Continuing on with the Christmas decorations, we finally finished the tree and this is the final tutorial. I've always wanted a dramatic tree topper and we definitely accomplished that. Trick was, finding items that worked - in our color scheme of silver and purple. Those of you with red and green have SO many options!
Click HERE for my other Christmas Tutorials.
Click HERE for my other Christmas Tutorials.
As I've said, do NOT pay full price. Too many sales going on, between Michael's, Jo Ann Fabrics, Hobby Lobby - 40-50% and don't forget to look for online coupons to print and take with you. Most of these stems were in the Christmas stem section, but a few were in the general floral section. We basically just looked all over the store and found things in various locations. Buy something you see today - you can always return it. It won't be there when you go back. (I've learned that the hard way!) The only stem that cost more than $1 to $1.50 were the long crystal stems, and they were $5.00 each on sale.
So, here are some photos of some items we purchased. We had no idea what we wanted, so we got a bunch of stuff and returned what we did not use.
 |
| Didn't end up using the purple stems in this photo. |
 |
| These are very long and I love the crystals - really catch the light. |
We started with the longest, dark purple sticks. We had tried some silver, swirly sticks, but they didn't stand out. I wanted to clearly see the sticks. These were perfect!
Quite a few stems were NOT used and we promptly returned them because frankly, if we waited, we would have forgotten!
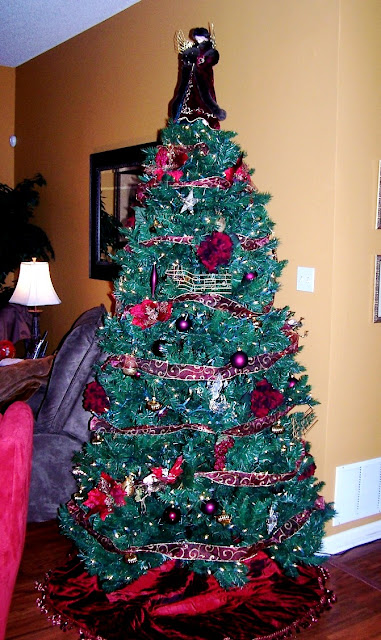
We have really switched up our decor this year - here is our tree from last year (I'm trying to talk hubs into putting it in the dining room, but I don't think I'm gonna win this one. lol
Different house, different tree, different colors, horizontal ribbon garland........pretty much changed everything! lol
Hope this tutorial helps you create a beautiful tree topper for YOUR tree!
I will be linking to THESE parties!
 |
| Tree Party |


 I w
I w


